(Edited on: Jul 29, 2025 to include 2025 starter avi pack benefits. Publish date backdated to order Newbie posts.)
On Second Life, your avatar is a representation of who you are. It should reflect something about you, tell a bit. On your first days in, you might not want to pay for it, not knowing whether you’re going to stay or not, or where to buy stuff even if you could.
There’s a ton of ways you can create a starter avatar and make it rather cool, too. You can use freebie parts to customize your avatar to your heart’s content without paying a single Linden for the fun, and I thoroughly suggest you try that. However, let’s get you started.
Start with the Avatar Welcome Pack avis.
O![]() pen your inventory from the suitcase icon.
pen your inventory from the suitcase icon.
Navigate to Library -> Avatar Welcome Pack
Right-click it and choose “copy,” then switch to “inventory” and paste it there. These are now your body parts.
![]() Then, open the Avatar Chooser (these are older avatars but still usable) and try on every avatar that you even remotely like to copy all parts of each of those avatars into your inventory. (Wearing them will automatically make a copy into your own inventory.) Make a mental note of the name of the avatars when you try them on (you’ll see the name in the inventory under ‘clothing’.) Most importantly, whose hair do you want? Note that male avis can wear female hair (usually) and vice versa.
Then, open the Avatar Chooser (these are older avatars but still usable) and try on every avatar that you even remotely like to copy all parts of each of those avatars into your inventory. (Wearing them will automatically make a copy into your own inventory.) Make a mental note of the name of the avatars when you try them on (you’ll see the name in the inventory under ‘clothing’.) Most importantly, whose hair do you want? Note that male avis can wear female hair (usually) and vice versa.
![]()
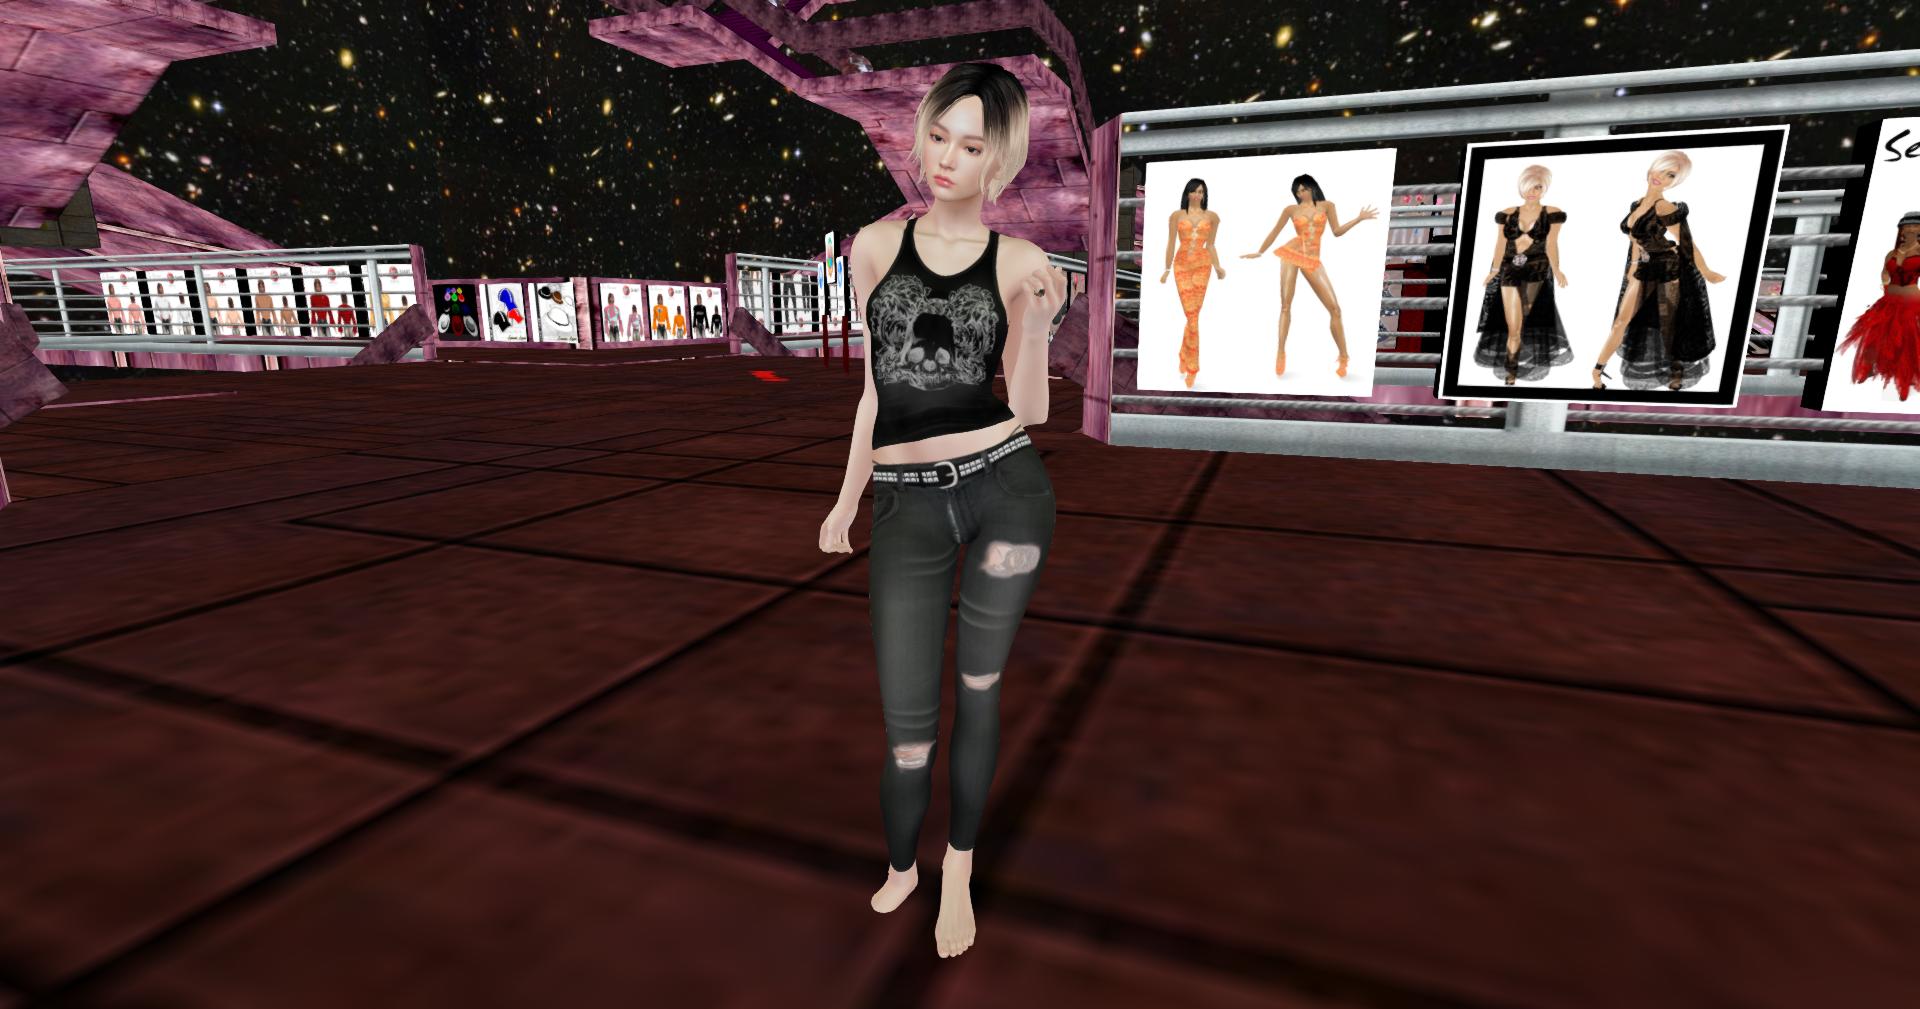
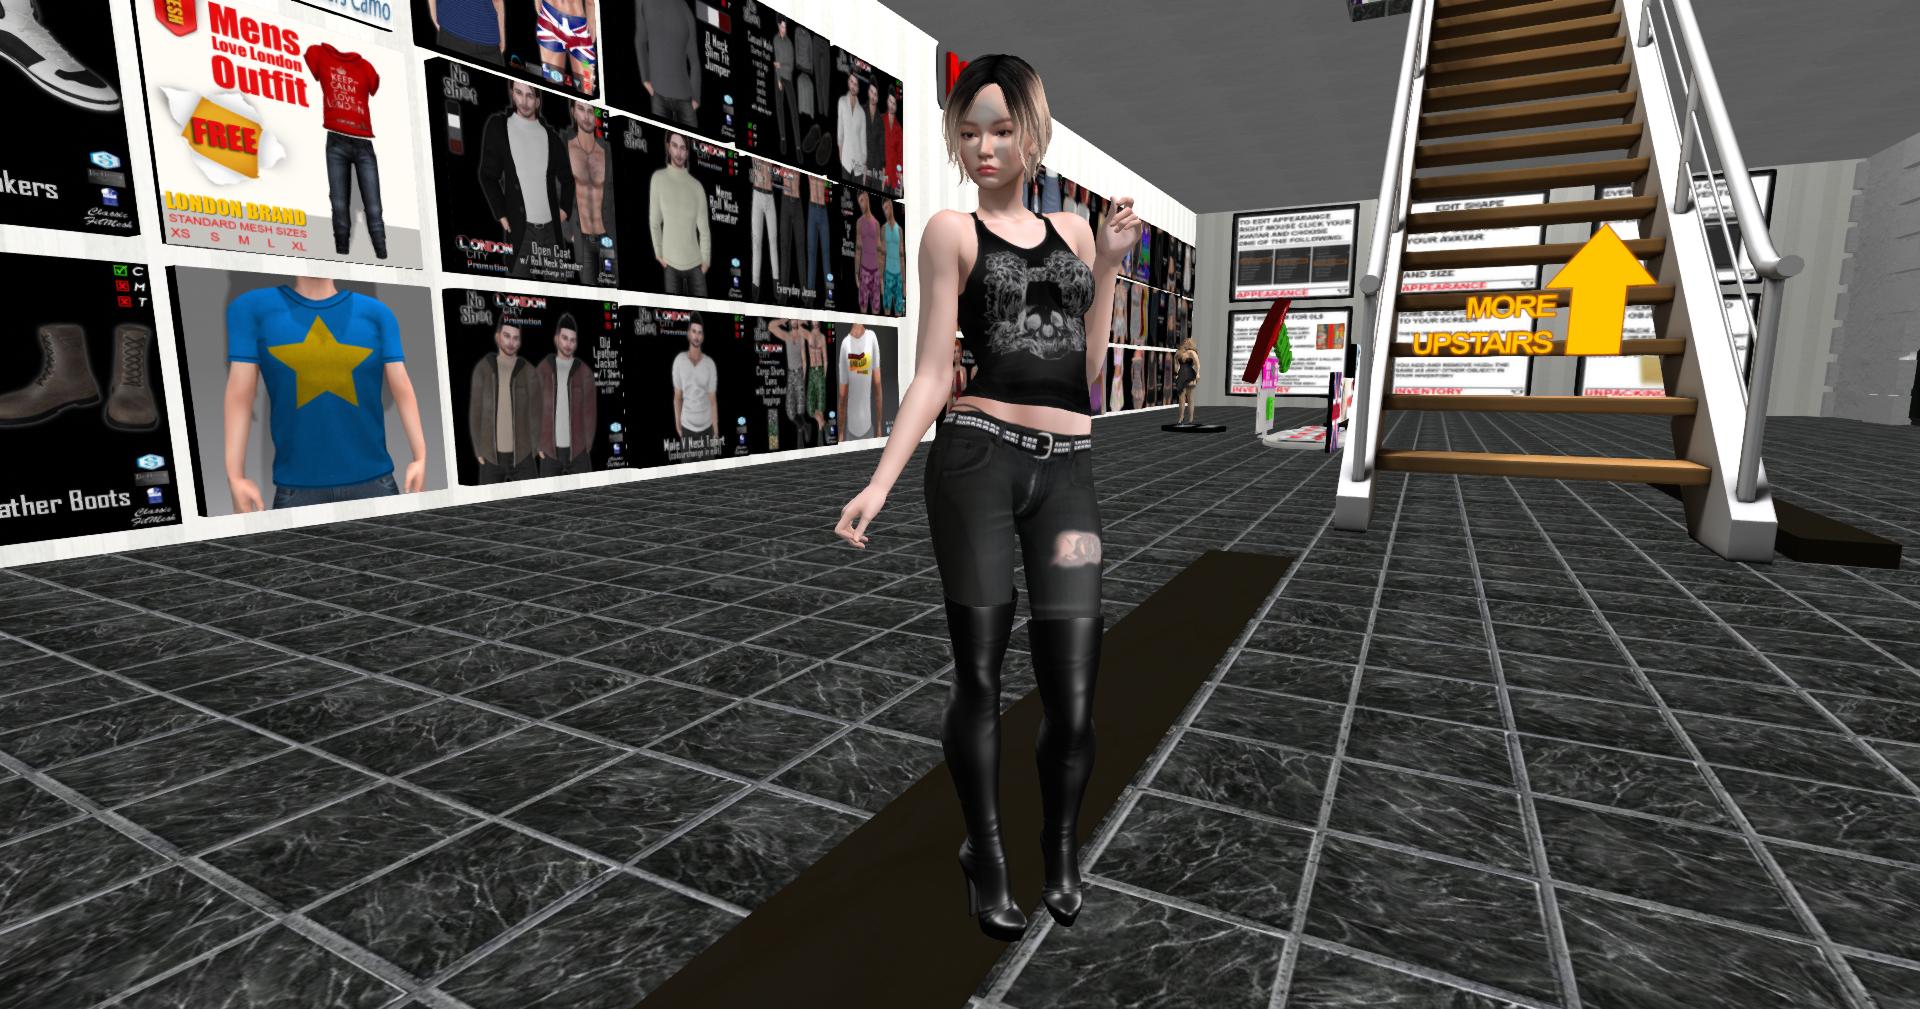
Now, you’ve got some avatar parts to work with. You can find more parts by visiting Freebie stores like the London City Freebie Store and Freebie Galaxy, which is MASSIVE.
Your Recent Folder.
These avatar parts are now in your Recent Folder until you log out (or crash). You can find them in the Inventory main folder from after you log back in, but for now, they’re easy to find in the Recent Folder, where you might want to add a memorable keyword into the folder or add a notecard into the inventory folder with a name you’ll remember later. (Click on the little + sign in Inventory (suitcase icon) and select “new notecard”. You can use this trick later when trying to make sense out of your inventory.)
First, build a nude version of yourself.
This will keep your character consistent. The nude version is YOU, and then, you have outfits.
Start with a nude avatar (find somewhere private to do this, or go to an adult sandbox where nobody will mind your nakedness.)
![]() Save your current look in an outfit folder if you like it at all. Open the T-shirt folder and choose “save as” from the bottom.
Save your current look in an outfit folder if you like it at all. Open the T-shirt folder and choose “save as” from the bottom.
Then, still in the outfit folder, go to “worn” tab, remove all items one by one to see what happens or select them all and choose “Take off/detach” from the menu. This should make you look REALLY FUNNY. 😀
Note that you cannot remove some outfits parts just to keep you tethered to your virtual existence. Next, go to the INVENTORY (suitcase) Recent Items Folder and in the Avatar Welcome Pack, pick the male or female body combinations and choose “add to current outfit”. If you want to try them all, try the next one with the “replace current outfit” command.
You could next find the hairstyle that you want (whose hair was it that you liked?) Attach only the hair you liked, and now, save this outfit as “nude me”, or whatever else you want. If you want this outfit to always appear on the top of your outfits folder, (as I would) prefix it with ! # ! and it’ll stay up the top: ! # ! Nude Me. You can always keep your nude avi folder updated with every bell and whistle you want to keep on you at all times, like, say, sex HUDs.
Cock (and vagina)
If you want to see how you like it, there’s a pretty decent-looking freebie cock on the marketplace. It won’t do all the tricks as the current market leader The P, which is fantastically realistic and good fun, well worth the money, but it could be too soon for you. Still, pick your The P when you’re ready. (There are others but you know, you can’t go wrong with The P.)
While The V also exists, girls can get away with not having a hyper-realistic vagina for a time. Still, if you want one, you need to grab the one that goes with your chosen body, so it’s a bit of a more complicated matter than grabbing the P.
Size yourself
The shape editor is easy enough for a newbie to use. You may not create the perfect shape yet, but you can certainly go a long way to it. Here are full instructions on how to make sure your avatar is realistically sized. (Toward the bottom of the article)
Let’s get you dressed
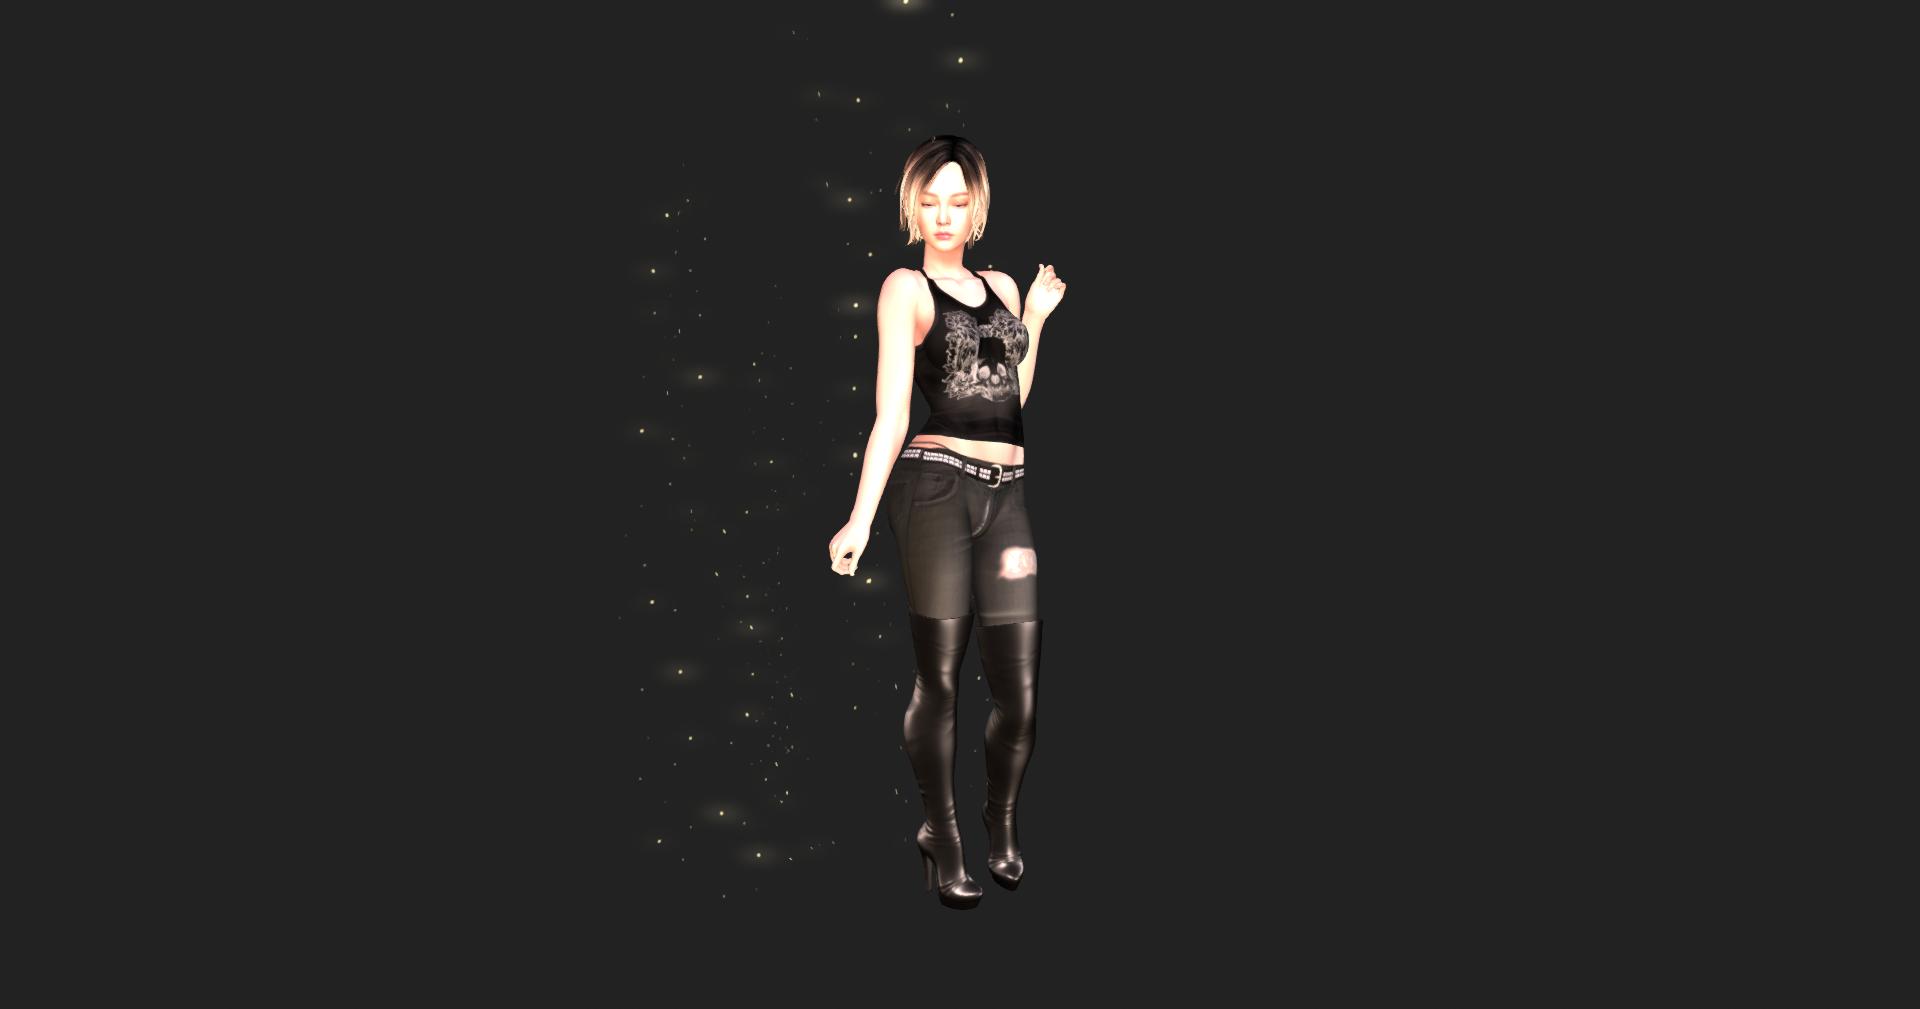
Now, you can put clothes on yourself. Ladies, you’ll find fabulous shoes that you can’t wear with this avatar version. That sucks, but you can find the free Legacy Classic body with heeled toes if you want to make a quick update. Simply remove this avatar body and replace it with the Classic.
Avatar parts:


 BoM/system layers will “paint clothes on” when you wear them, best used for underwear, leggings, and other skin-tight clothes. This is the oldest way to dress your avi on SL. The Alpha layer will HIDE parts of your avatar. Try wearing one from the named character folders to see what I mean. The purpose of alpha layers is to hide parts of your body when the clothing isn’t rigged for your body type or it otherwise doesn’t work 100%.
 Skins (BoM skins, that is, as are most at the moment, applier skins are another, outdated way to wear skins.) Skins you can wear LeLutka Evox skins with the Avatar Welcome Pack avatars – most new skins are Evox. (Evo skins will work with some older avatars if you find some.) The sold skins typically only contain a head skin, and you’ll need a matching body skin to go with it, but sometimes they come as a full body skin. (Pay attention to the vendor boards when you explore.)
 SHAPE. Now, the shape is what gives your body the shape. If you look weird, it’s the shape that is the problem. Down the line, always match your head with your shape (wear the shape that comes with your head rather than the body to keep your face from warping, until you learn how to create your own shapes – it’s not difficult at all in fact, but just to start with, the head shape should be prioritized.) For ZEN METAL.
 Mesh objects are often worn as clothes on an avatar. Most modern clothes look like a yellow box in your inventory.
Adding clothes:
Always use the “add to outfit” to avoid weird glitches with wear and attach -commands being different and producing a weird result. I don’t know why they’re even there, as they’re no longer needed. Just go “add to outfit” and “remove from outfit” and you’re fine.
With this starter avi, you more then likely will need the alpha layers. When you add a shirt, for example, try and find 2 files – shirt and shirt alpha for every clothing item. You can gender blend to your heart’s content here if you want.

When you find an outfit you like, save it to the Outfits Folder.
The Outfits Folder will keep all the open attachments, color HUDs, and the like associated with the outfit you wear. It’s a good idea to save HUDs with the outfits so you’ll never have to go looking for them in the inventory. (That’s a bit advanced class, tho. Detach the HUDs after changing clothes, but don’t save that outfit even though it says “unsaved changes.”)
Now, you can just switch outfits from the outfits folder as you go. You can also keep a “sex ready” version of your nude version. Later on, you’ll find that having “fashion nude” and “sex nude” versions of your avi helpful.
When you get a new outfit.
First, wear your nude avi and then, add the clothing parts into the outfit. Save as new.
Use the folder commands “remove from current outfit” and “add to current outfit” to wear the entire outfit at once. (If it contains avatar parts like skin and shape, things can get tricky, but you can always revert to one of your saved outfits!
Keeping your Nude You consistent over time.
When you update your Nude You avatar parts, the rest of the Outfits folder won’t automatically update to match this one. However, there’s an easy way to update outfit parts.
First of all, I’d keep your OLD nude parts saved somewhere like “zzzz-old nude” then, when you find an old outfit you want to still wear, you can right click on the zzz-old nude avi’s name, and choose “remove from outfit”. Then, you’ll find the new nude avatar and choose “add to outfit”.
But, if you change your hair, for instance, and you want all of your outfits to wear the same hair, you go into your INVENTORY folders and find the hair. (Go to Worn tab and click on the old hair while wearing it, and choose “find original” then, right click and choose “update links”. Drag the old item into the Old and the New to the new and click update.
Note that this will update EVERY folder where that item is used, so sometimes it’s good to have a second copy of some outfit parts, like a different body or hair copy for a special avi or a backup outfit.
More on inventory management in this video.
You’re ready to go.
Now, you’re ready to go and go explore. (Try looking for freebie stores if you want to keep customizing your avatar.) Find some old system clothes and see how they look on your beautiful mesh avi. Freebie stores are like drift stores – there’s some new stuff, and tons and tons of old stuff, like digging through history archives of Second Life. The prim shoes can be a bit crazy (you’ll see), but other than that, some of it is still very wearable!
A unique avatar, no matter how wild and messy, is always more fun than a beautiful dime-a-dozen. Go nuts!
More free stuff
- Marketplace freebies, promos, and gifts (the demo ones are for trying out, and will come with advertising. They are not meant to be used, but I’ve seen people rocking a big advert over their heads at a club. 😀 Other than that, free to go.)
- Freebie Galaxy
- London Freebie Megastore (grab the awesome high heel thigh boots on the left wall from the main entrance and use an alpha to hide your flat feet)
And the paid luxury stuff:
Once you’re ready for a commitment to your SL look, check out where we get the cool avatars from.
