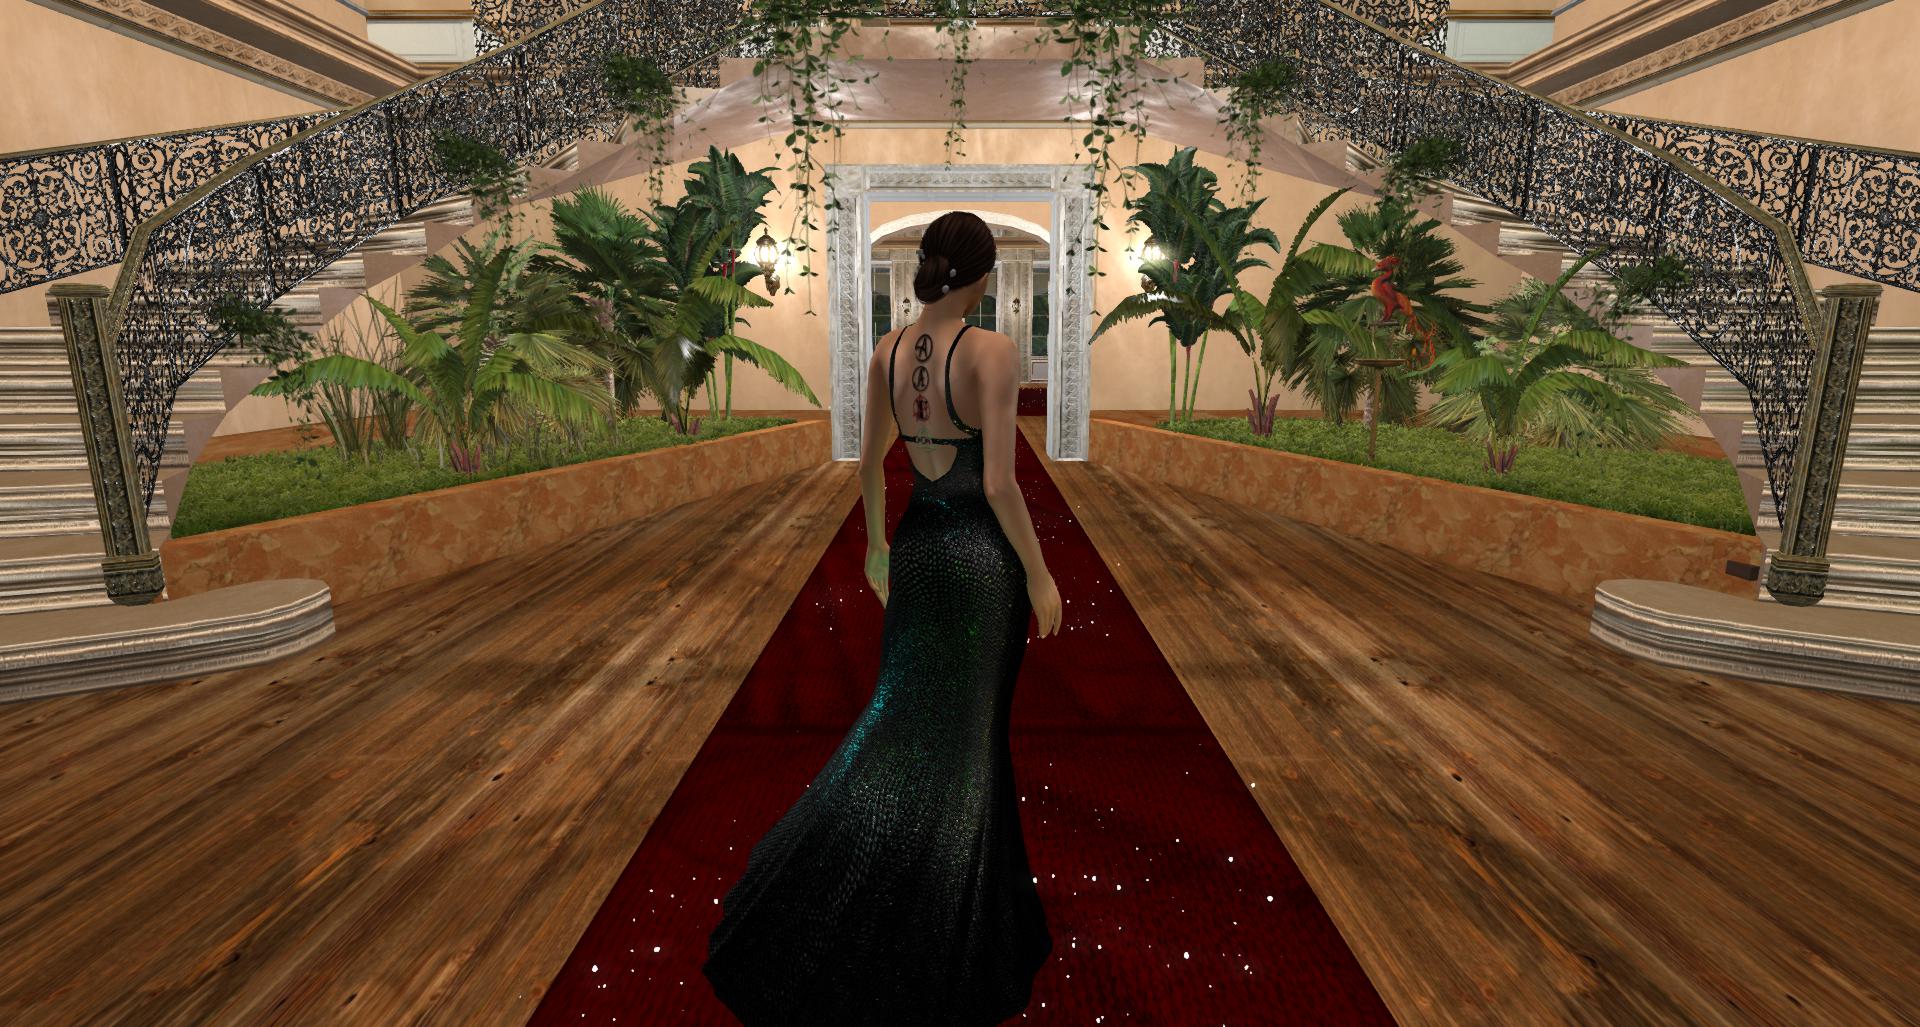
One of the biggest issues Second Life residents have is that they don’t know how to control their follow cameras properly. It is not that it cannot be done; it’s that many people have no idea how to do it and haven’t thought about trying to. Therefore, they make their avatars oversized so they can see them better and build everything extra-extra large so they can see it with a default camera view.
The camera view is set to where it is so newbies can see where they are going. It is not optimized for admiring your advanced, masterfully crafted, and super-detailed avatar on the go. Adjust your camera angle, if not for any other reason, to admire your own avatar.
Two ways to control your view.
There are two ways to control your camera view. Temporary keyboard short cuts that help you alter what you’re looking at on the fly, and more permanent camera presets. Both are very helpful.
Temporary camera positioning
This is done while you explore Second Life; you see an object somewhere, and you want to see it up close without walking right to it.
Pressing ALT will point your view toward the object, then using the trackpad or the mouse wheel will zoom into the object. If you want to alter the angle, also press down CTRL and use your mouse to alter the angle.
These are the most important ones. There are more, but just learn those for now, they’ll get you out of most on-the-fly viewing situations.
Camera Presets.
Save handy camera angles.
I have added 3 very handy views into my camera presets and they do work well. I recommend doing the same, as they’re the next step in living somewhat more comfortably on the grid.
Before you start, you might want to save the current default view as a new preset, such as “original default view” or something. It comes handy if you start building and need to see what newbies see.
The position… -button allows you to adjust the view angle and save it to the default positions or a preset you can find from the Use preset -drop down.
(My screen caps are from Firestorm, but similar looking tool bars exist in Second Life viewer as well. Firestorm is to Second Life Viewer what Chrome is to Edge.)

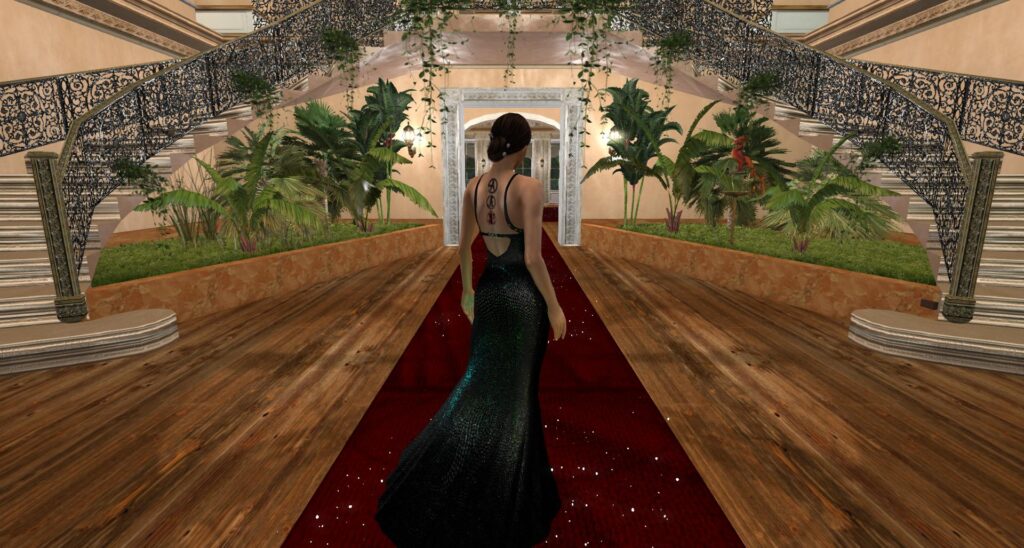
My adjusted default behind view:
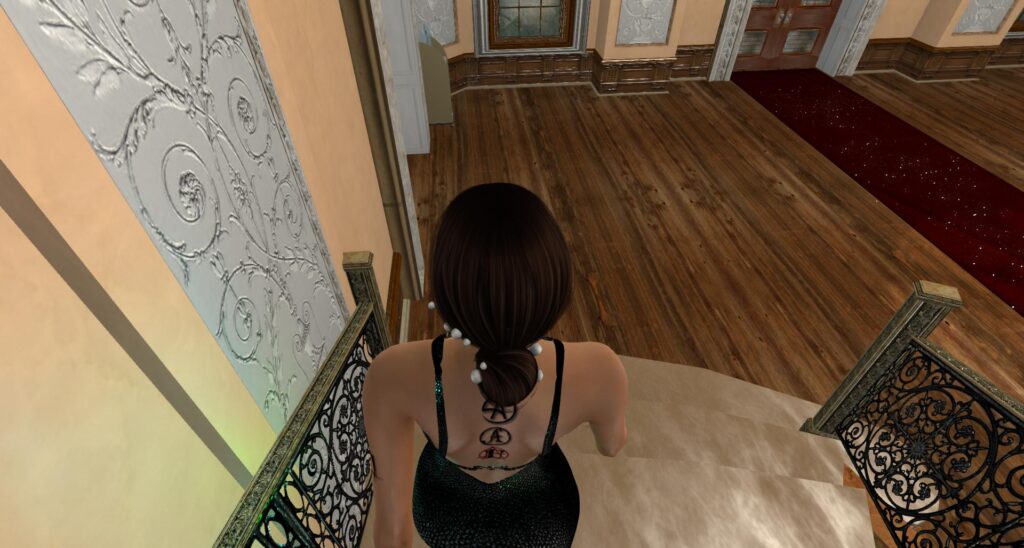
My default “side” view:
I find the “side” view useless, so I’ve replaced it with this one, namely for walking up and down the stairs without tripping over.
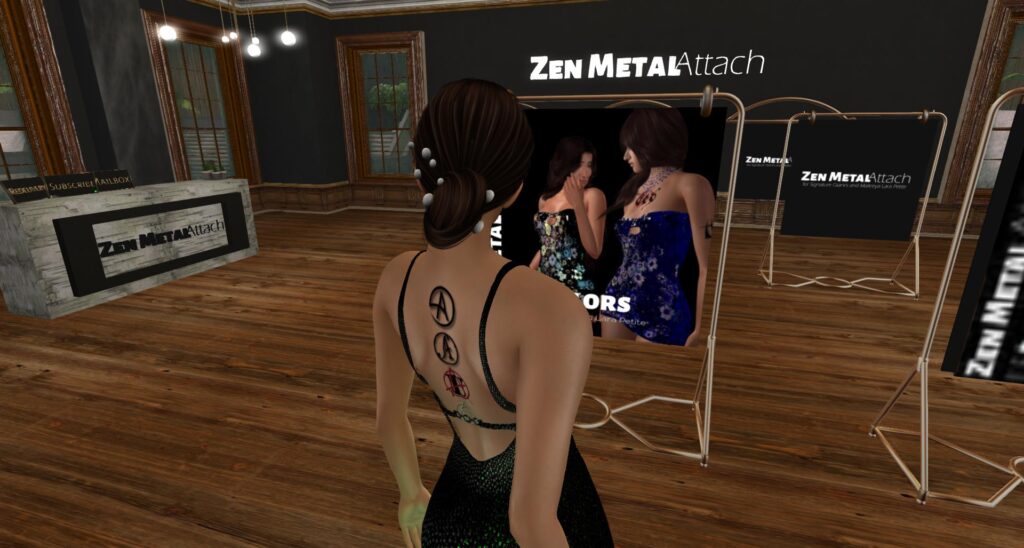
My default “front” view:
I rarely use the front preset as it’s useful only when standing still, and changing the angle for that is best done with the alt+ctrl+mouse combo, so I’ve replaced it with this “cramped space” view. This works for elevators and other tiny spaces… Like between two lines of clothes racks on a 1:1 sim… (I also place my vendors down at the eye-level or lower… but have another camera setting for “shopping and sim hopping”… (Which from this position would place my camera up and behind the wall.)
Add as many more as you want in the drop down
In addition, you can add as many other camera presets as you want into the drop down menu. For me, these three are what I use mostly, and in addition, I use a preset I labelled “shopping” to have a quick chance of viewing those massive shop vendors that people like to build in warehouse rather than a boutique size…
Browser (a bit of new-newbie stuff)
As this is the first post I share on my newbie location on Second Life, I’ll make a quick mention on browsers.
By default, weblinks load inside Second Life in-built browser, but it can be a bit slow. It allows a feeling of immersion, to be fair. Still, in the top right corner, there’s a button that allows you to move to your default system browser if speed is of essence.
There is also a setting to change whether you want links to open inside Second Life or to open them in your system default browser in your preferences. (CTRL+P Network and Files tab.)
Stand
If you are reading this at the newbie joint while sitting down, you might want to be informed that you can stand up by touching the “stand” button, that is likely in the bottom left corner of your screen, or floating with the move tool kit if you have it open.
